If you own a MK7 GTI, it’s important to keep your cabin air clean and fresh. One way to do this is by replacing your cabin air filter regularly. The cabin air filter helps to filter out dust, pollen, and other pollutants from the air you breathe inside your car. In this article, we’ll walk you through the step-by-step process of replacing your MK7 GTI cabin air filter, so you can enjoy a healthier and more comfortable ride. Whether you’re a DIY enthusiast or just want to save some money on a trip to the mechanic, this guide will help you get the job done.
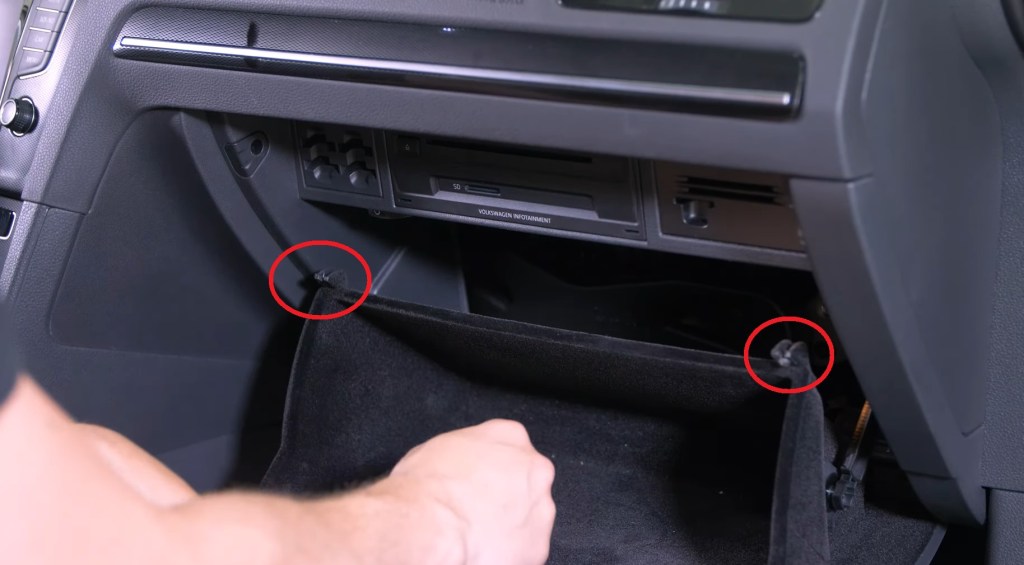
Step 1: Open the glove box and locate the 2 tabs
Once you have located the 2 tabs, push up and gently pry out the glove box lid.

Step 2: Pull down the three tabs
Gently pull down on the three tabs to release the cover to reveal the filter cabin

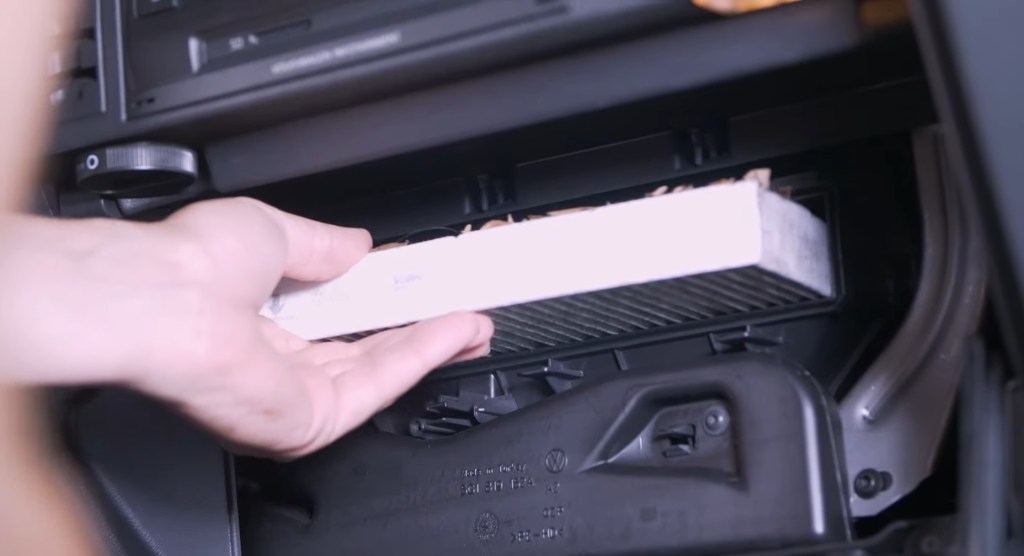
Step 3: Replace the filter
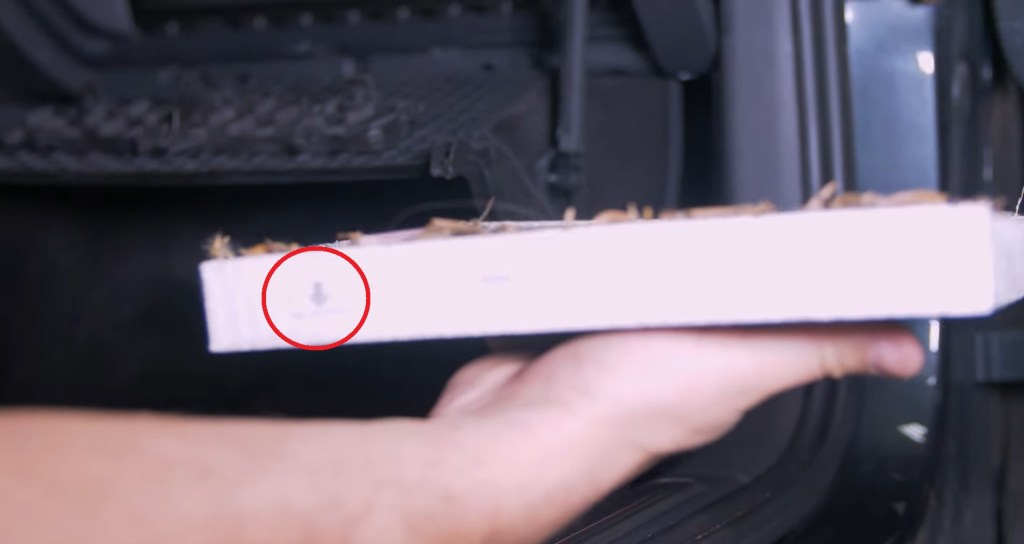
Swap your old filter with your new one. It’s important to take note of the downward facing arrow. Ensure your put your new filter in with this arrow facing down.
Comparison of the old filter vs the new

Watch the full video installation:
Credit: ECS Tuning


Leave a comment