If you’re the proud owner of a BMW M240i equipped with the B58 engine, and you’re approaching the recommended maintenance interval, looking to boost your vehicle’s performance, or tackling any misfire issues, it’s high time to contemplate replacing your NGK spark plugs (and potentially your coil packs). These vital components play a pivotal role in igniting the fuel-air mixture within your BMW M240i’s combustion chamber, guaranteeing peak power output and efficiency.
Tools needed:
- 10mm socket + wrench
- Plastic pry tool
- E20 & E8 torx
- 14mm magnetic spark plug socket
- Torque wrench
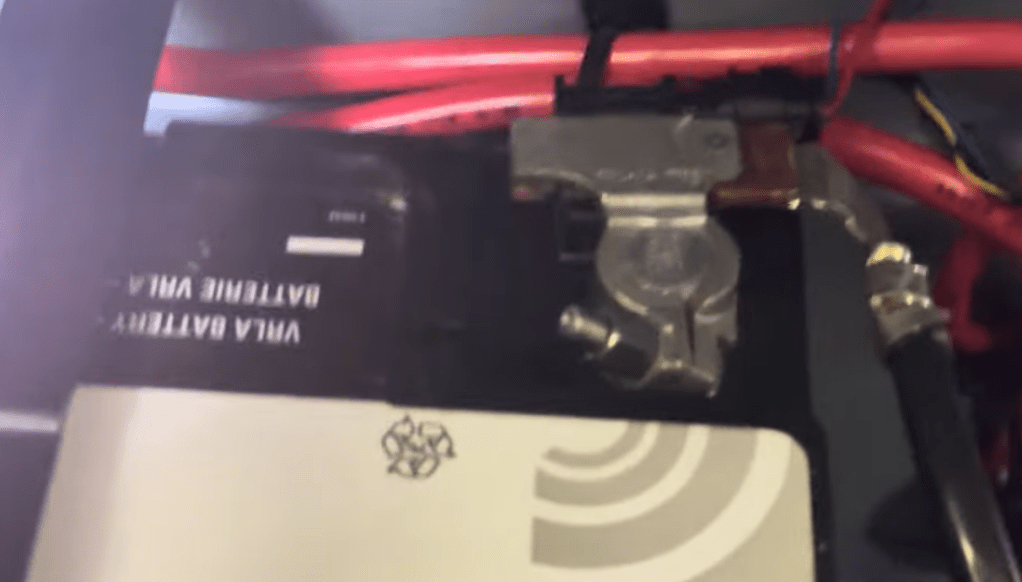
Step 1: Locate the battery in the trunk/boot and disconnect the negative with a 10mm spanner.
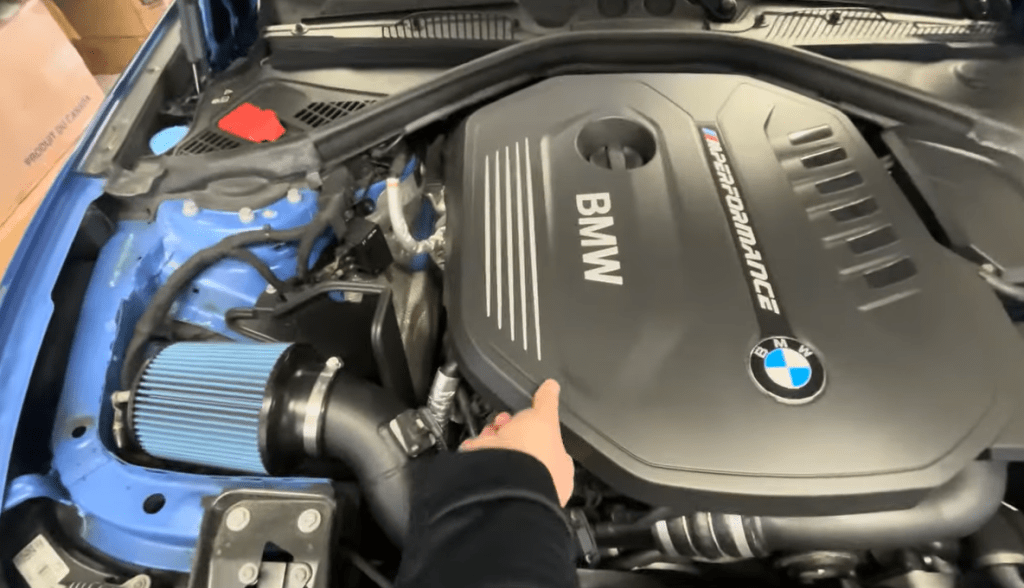
Step 2: Remove the engine cover by gently pulling up on all 4 corners.
Step 3: Remove the x3 10mm bolts on each side of the windscreen cowl and then press in the tabs to release the cowl pieces.

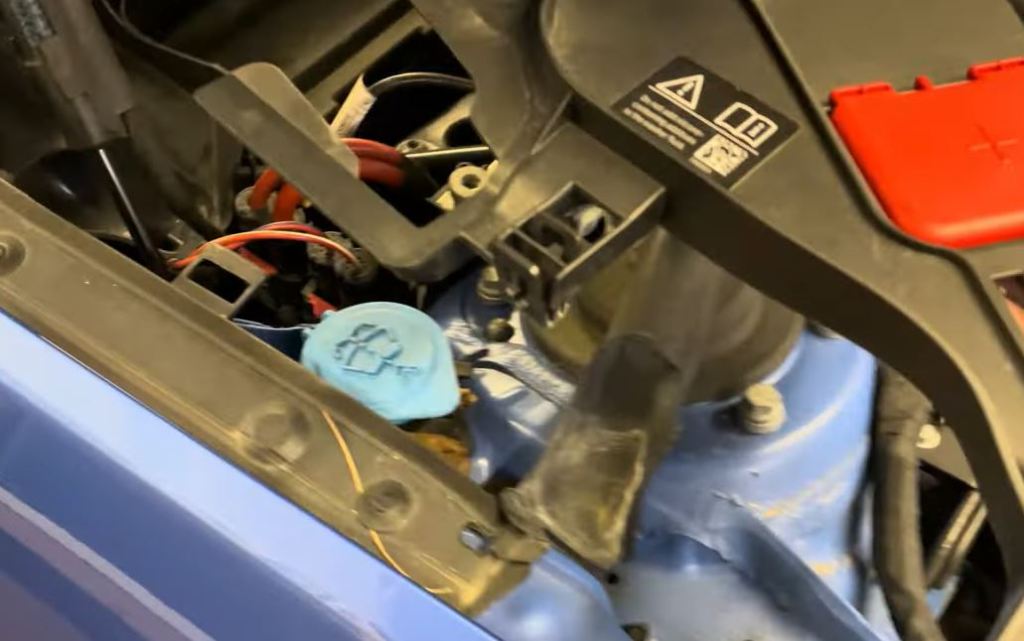
Step 4: Lift the ECU cover to gain access to the plastic rivet which you will need to remove.


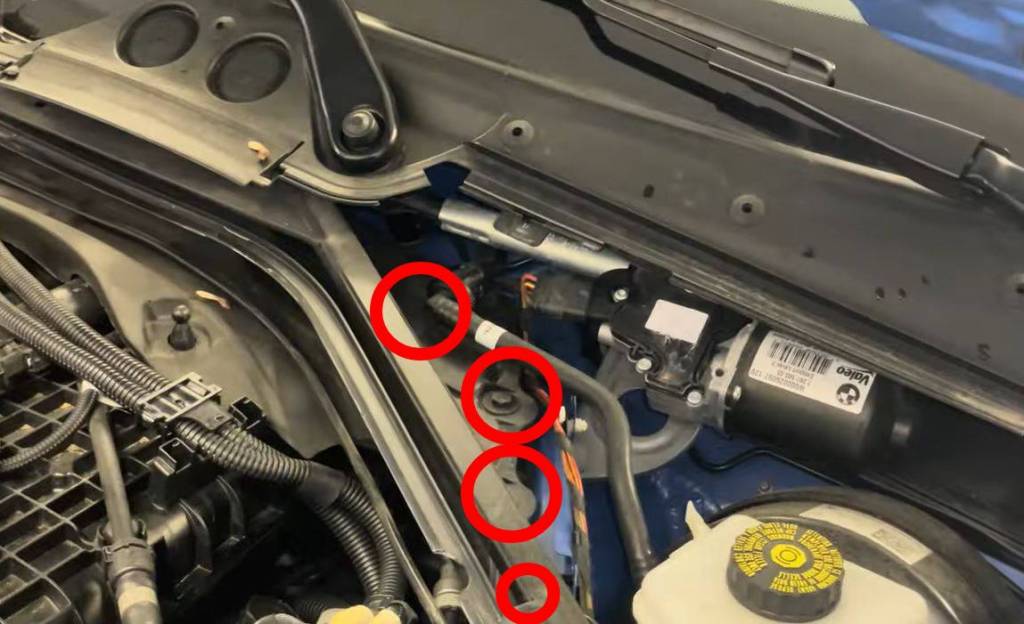
Step 5: Remove the wire along the weather stripping and then remove the weather strip.

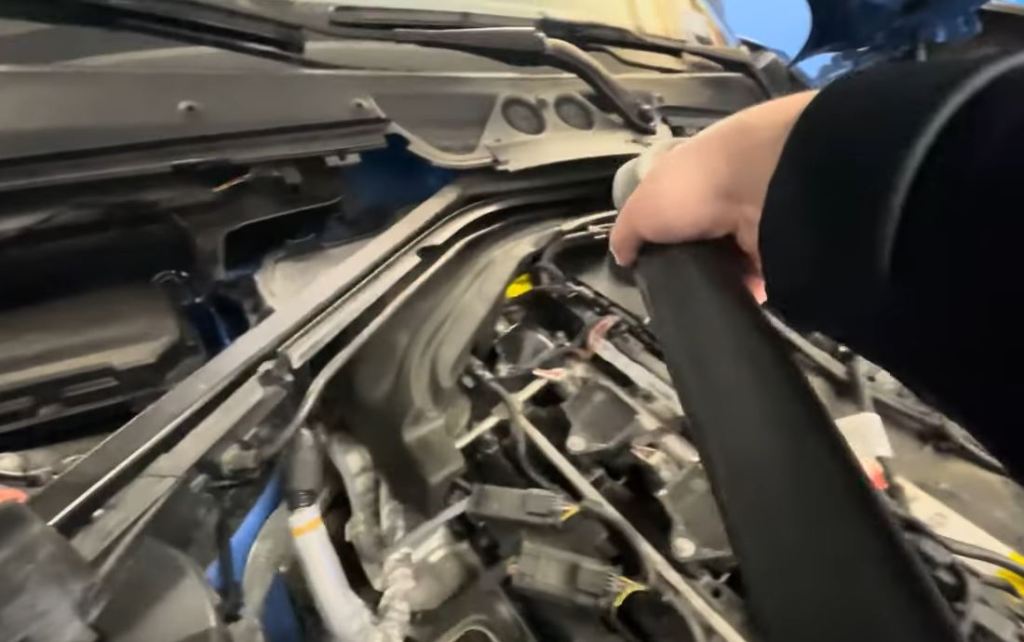
Step 6: Behind the weather stripping you have just removed you will find #3 bolts on the left-hand side to remove. And, 4 on the right hand side.

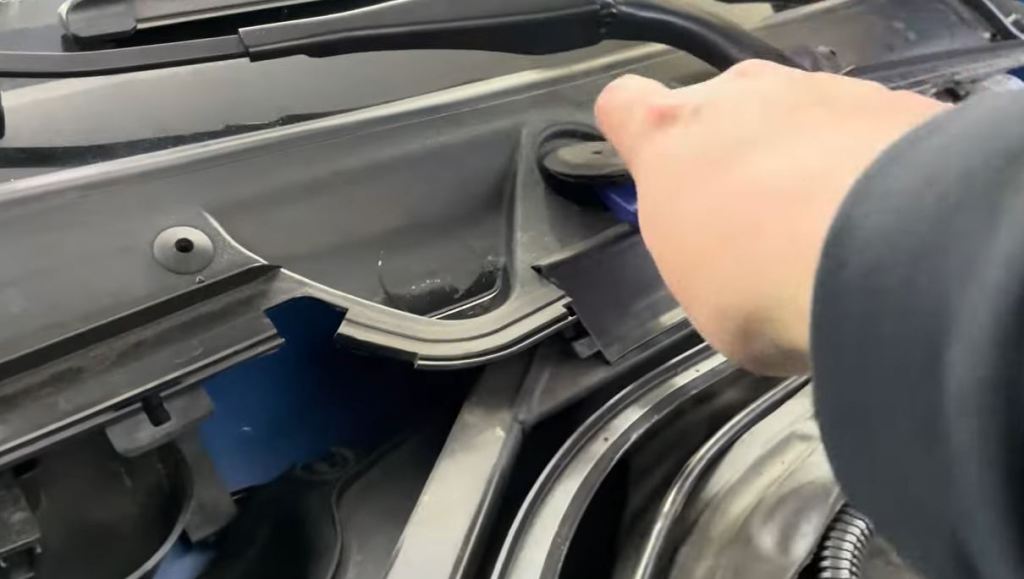
Step 7: Remove these plastic covers with a plastic pry tool and remove the E20 torx bolts.
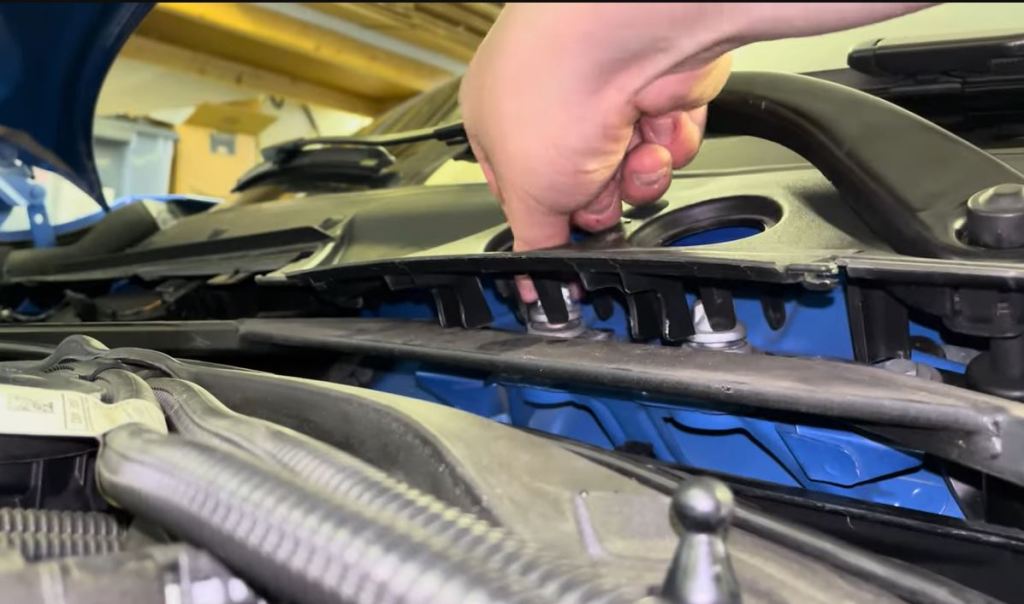
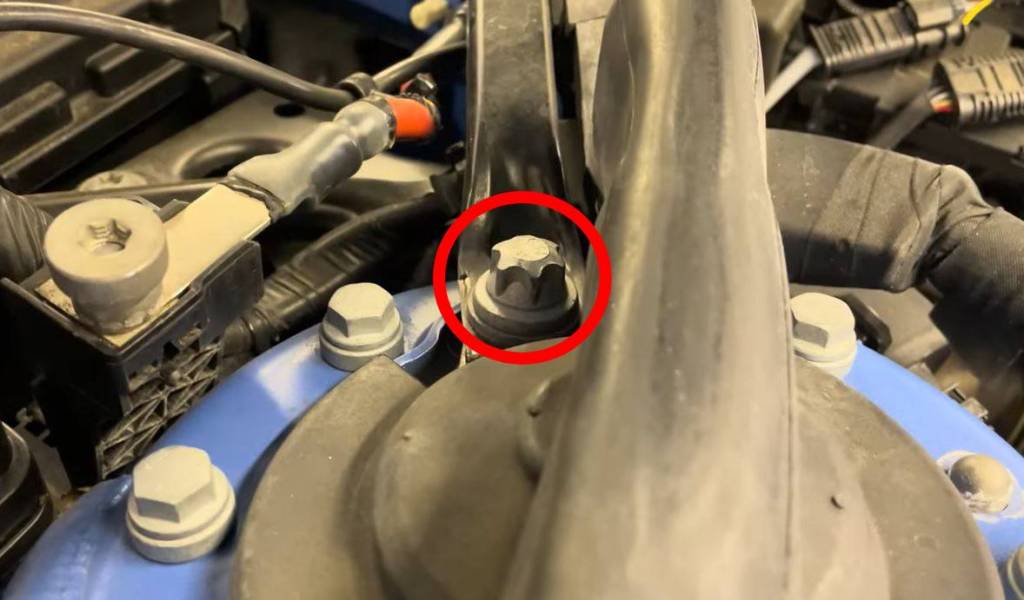
Step 8: Remove the remaining E20 torx bolts holding in the strut bar/brace into the top of the suspension tower.
Step 9: Now the strut bar/brace is loose, remove the remaining plastic cowling and foam revealing the 6th coil pack.

Top Tip: Start from the coil pack at the back of the engine first to save your back!
Step 10: If you’re changing out your coil packs, remember to unclip the electrical connectors first. If you’re just changing your spark plugs then you can skip this step and proceed to removing the E8 torx bolts that hold each coil pack in to place and remove them by hand.

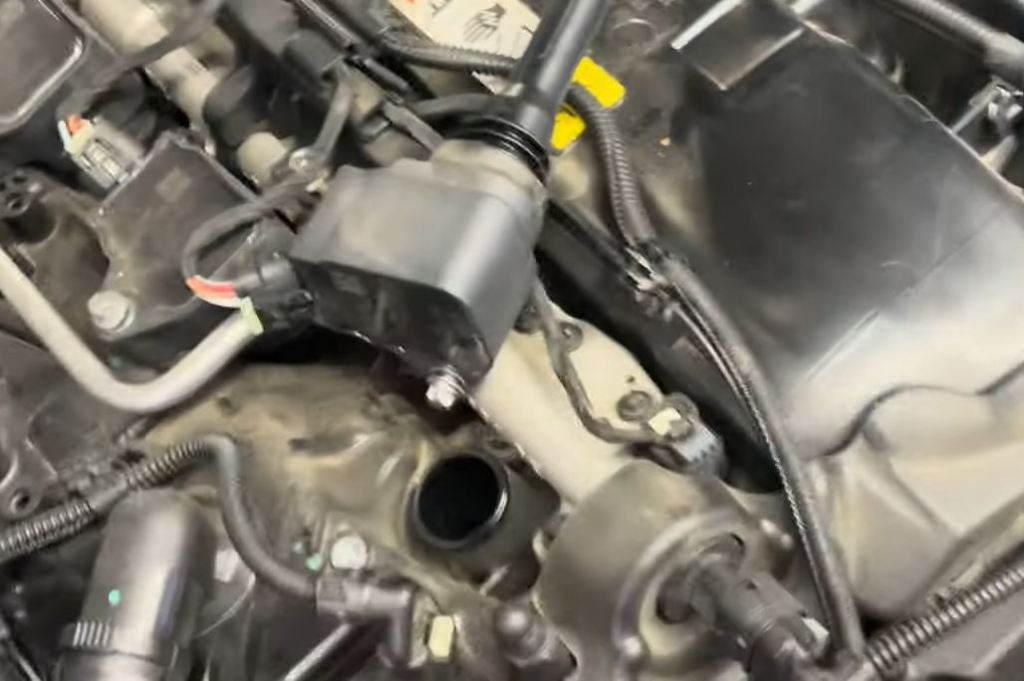
Step 11: With a 14mm magnetic spark plug socket, remove all 6 spark plugs from the engine.

Step 12: Hand-tighten your new NGK spark plugs into place and torque each one down to 17lb ft/23 nm
Step 13: Then do everything in reverse.
Full Installation Video


Leave a comment