If you’re looking for an easy step-by-step guide to change a cabin filter on a VW Golf MK4 then you’ve come to the right place.
Tools needed:
- Phillips screwdriver
- Vacuum/hoover
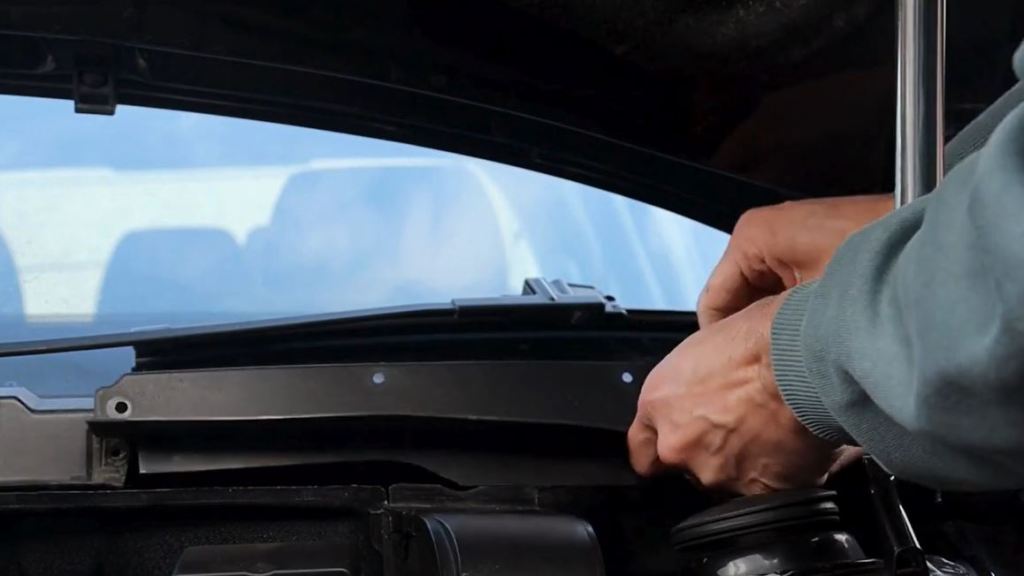
Step 1: By hand, pull back the weather strip about halfway back.
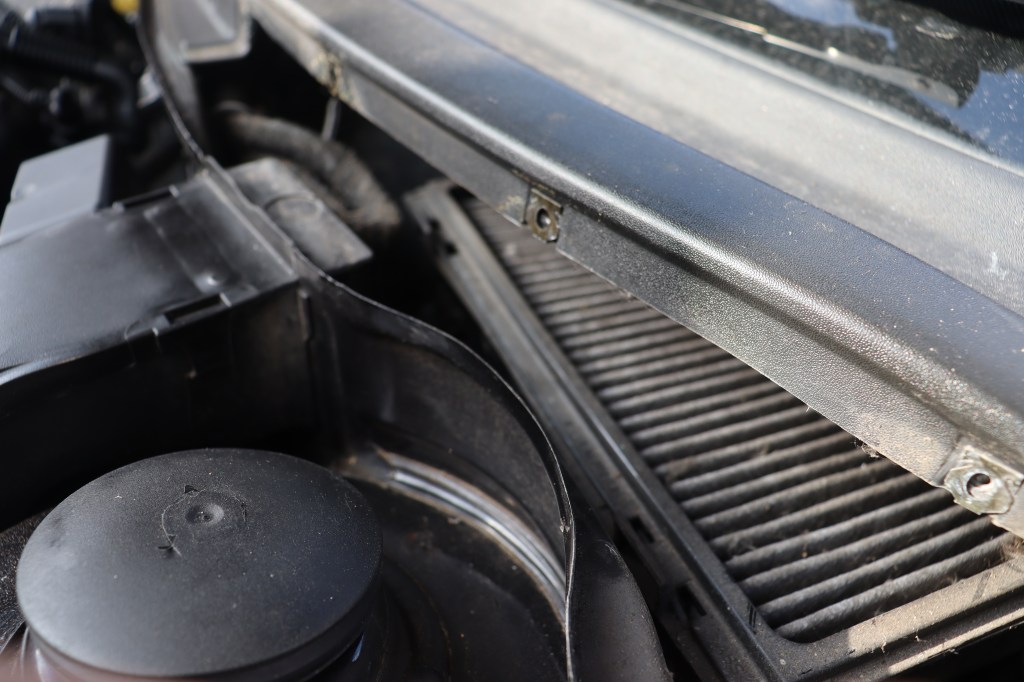
Step 2: Remove the x4 phillips screws.

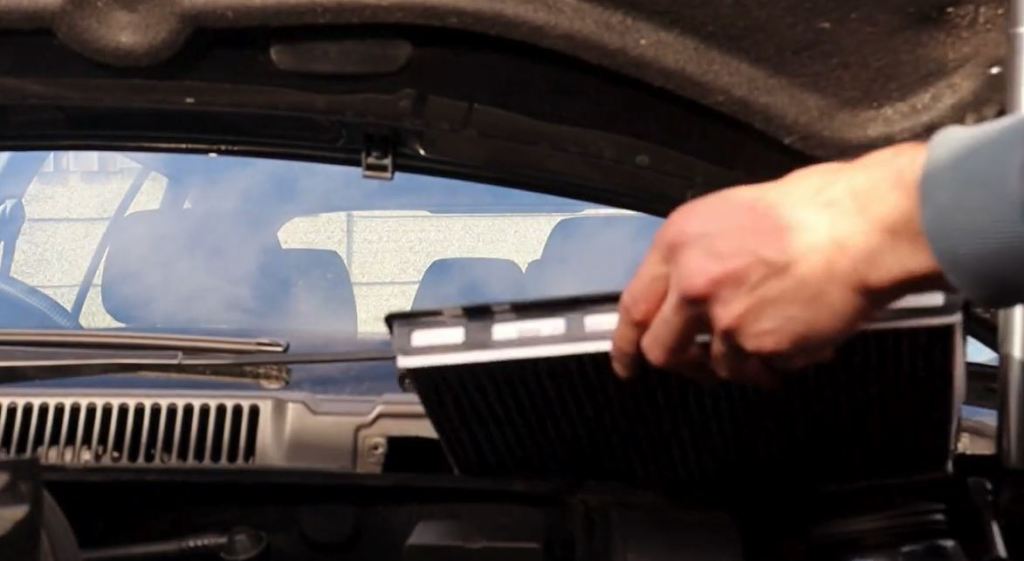
Step 3: Remove the filter cover by gently pulling back while moving it side-to-side.
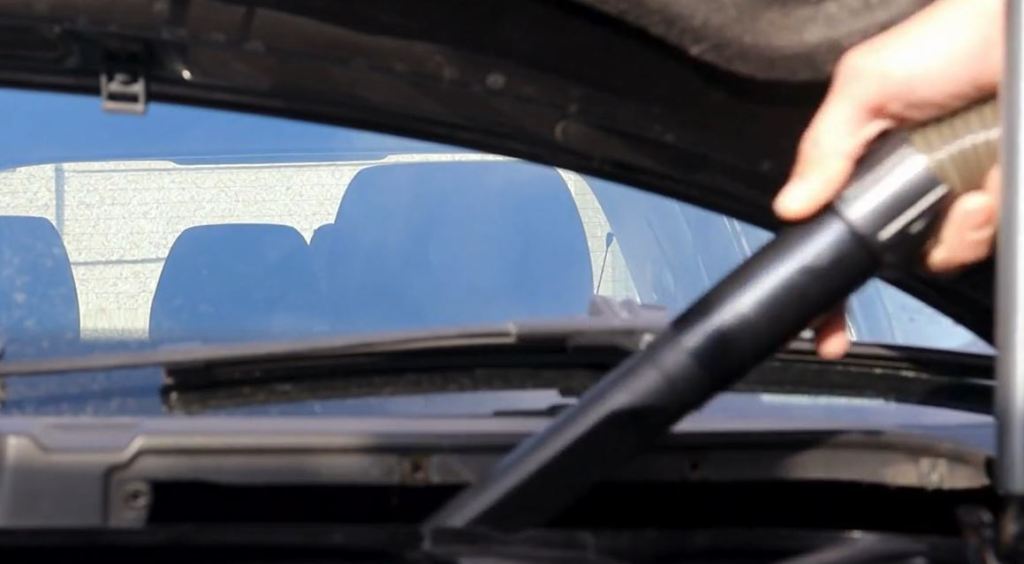
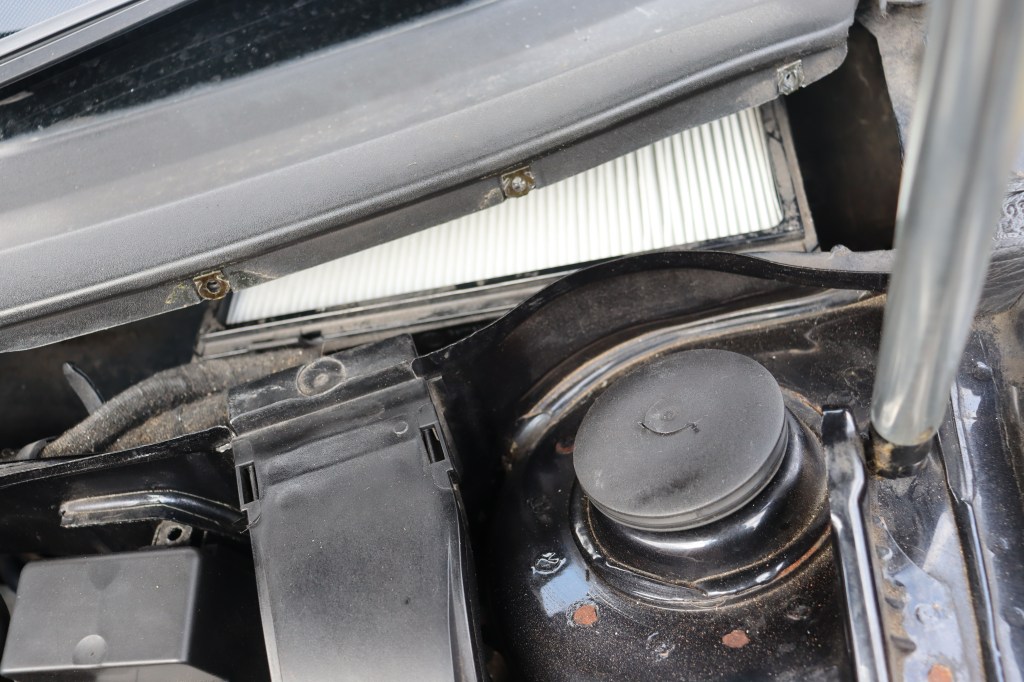
Step 4: Depending on how dirty it is, vacuum the top and the surrounding areas of the filter to avoid any loose debris dropping down when you remove the filter.
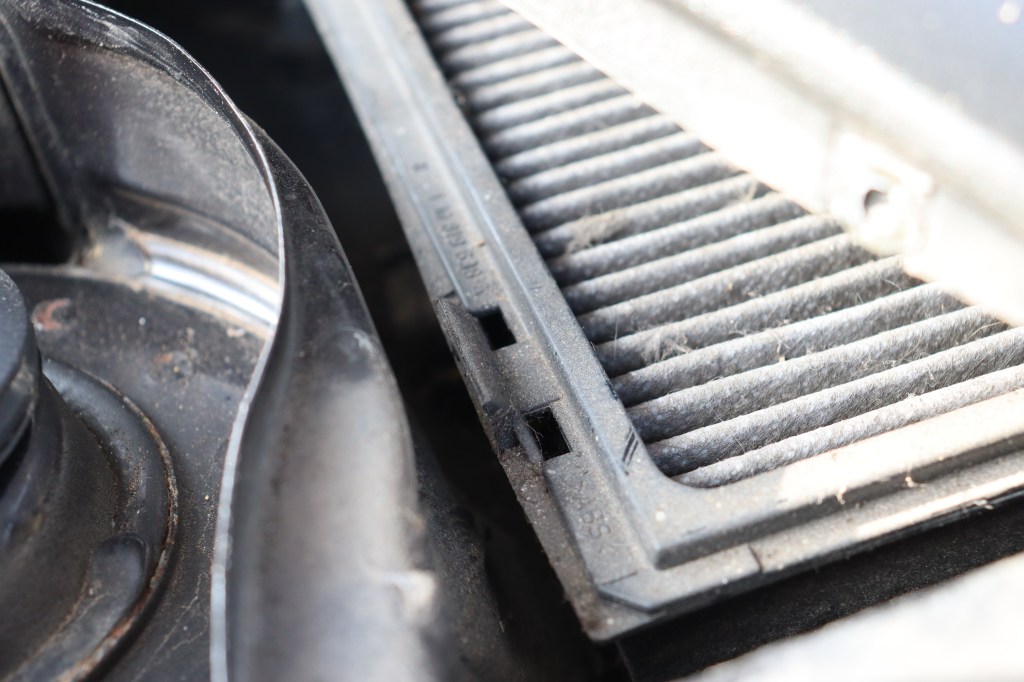
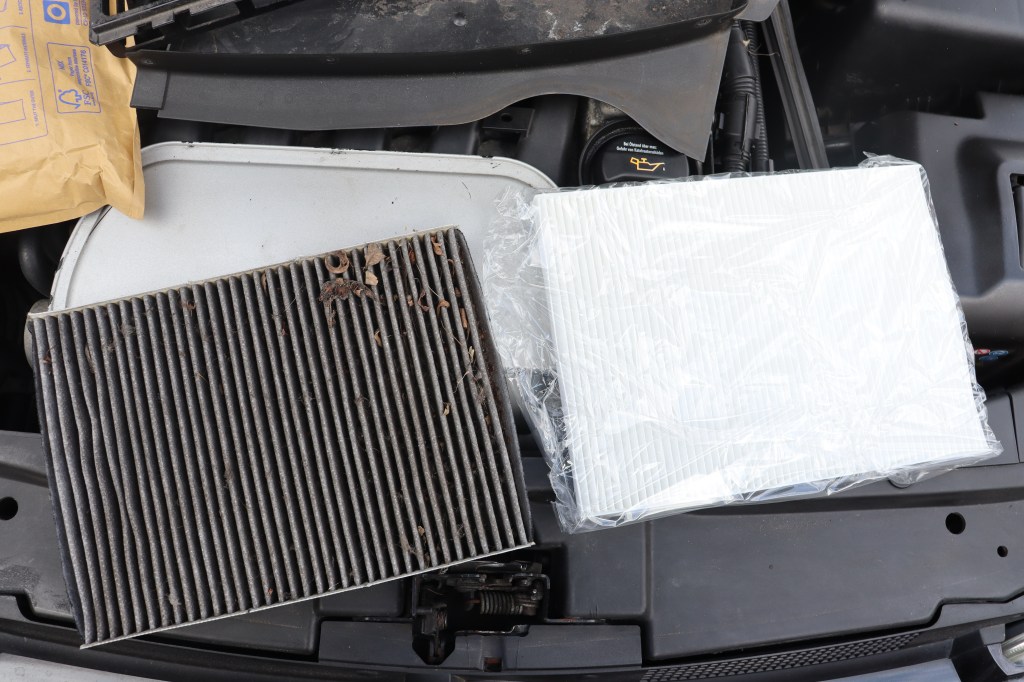
Step 5: Lift the x2 tabs at the front of the plastic surround on top of the filter and then manoeuvre it out, with the filter. Take note of the air flow arrows on your filter – they should be pointing down. Remember to reinstall your new filter with the arrows pointing in the same direction.

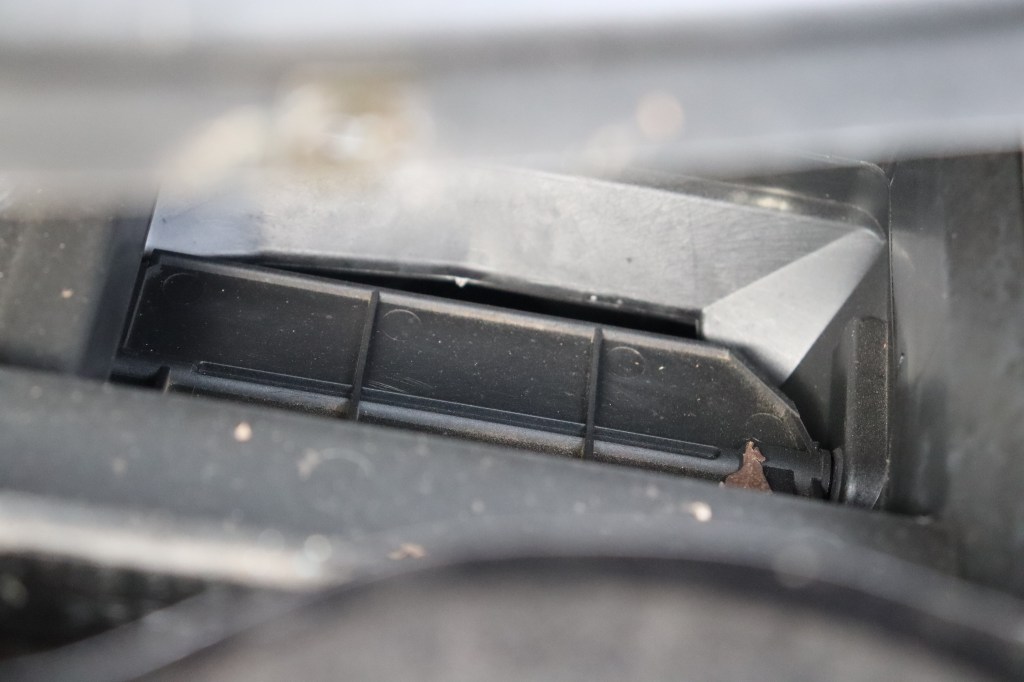
Step 6: Vacuum out the filter area to ensure it’s nice and clean for your new filter. As you can see, this step was important as you can see a trapped leaf in the mechanism.
Step 7: Attach your plastic trim from your old filter and push it on (evenly) to your new cabin filter.
Step 8: Then, simply do everything in reverse order.
Top tip: After installation, start up your car and put your heater fans on the highest setting to blow out any excess debris that may have escaped the vacuum stages. P.s. It may be a good idea to stand outside of the car initially.


Leave a comment